How to create a Lesson using the Timeline Component?
The Timeline content type allows you to place a sequence of events in a chronological order. You can drag the scale to go to a specified time and the content will change automatically according to the time selected.
When to use this Component
You can use this component whenever you want to explain the history of any person or some important things. Since the history is explained in an interactive style, the users can easily relate to it.
How it works
- The top side of the page may have a link to any media including Twitter, YouTube, Flickr, Vimeo, Google Maps and SoundCloud items. This is the description area for each slide in the timeline.
- At the bottom of the page, there is a predefined scale showing the timeline for the history explained in this lesson.
- The user can navigate through the timeline by clicking the navigation button on the left and right sides of the description area.
- They can also drag the timeline scale to go to a specific time in the history and click on any title found in the scale. The description area on the top will change itself to show the contents for the selected title.
- User can return to the home page of the timeline by clicking the Return to Title button on the scale.
Features of the This Component
- The Body Text field can have bulleted points, hyperlinks etc.
- User can zoom into the scale to find the time entries more precisely. You can set the default zoom value for the scale.
- You can add a media URL link to the description part of the page. It could be a link to Twitter, YouTube, Flickr, Vimeo, Google Maps and SoundCloud. These resources are called assets.
- Credits to the above external resources are visible to the users.
- You can add thumbnail images to these assets optionally.
- You can add as many timestamps as you want to the scale.
You can create a page using this component by following the below steps.
Step 1: Go to the required Slide
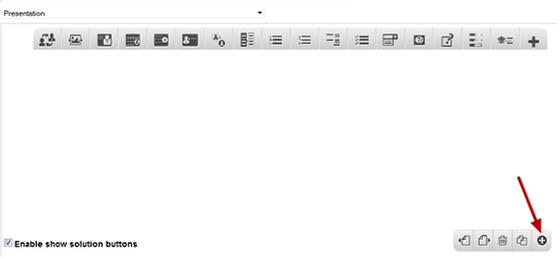
If you are creating a new Presentation, you will be taken to the first slide where you can use this component and create a page. Alternatively, if you want to add a new slide where you want to use this component, click on the '+' icon on the lower right corner as shown in the above image.
Step 2: Click on the Timeline Component Icon
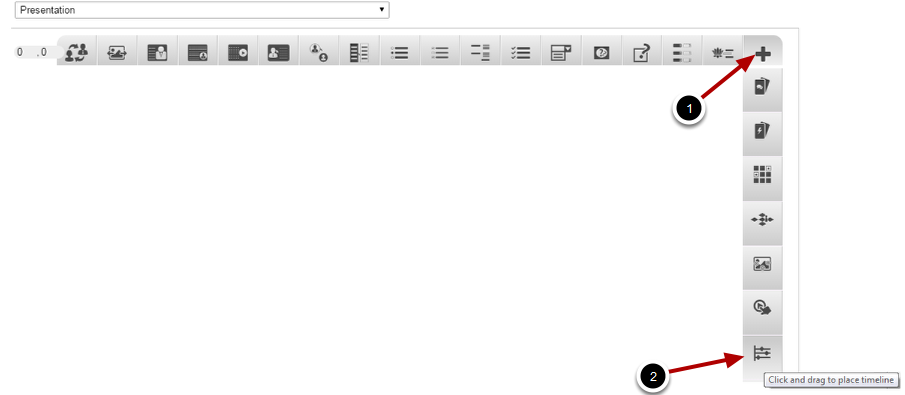
Click on the More elements [1] icon then click on the Timeline [2] component icon as shown in the above image. You will see a screen similar to the image shown below.
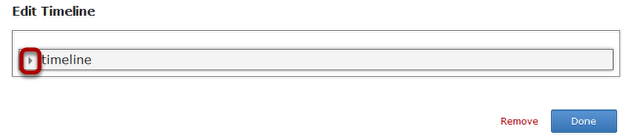
Click the arrow button shown in the above screen. You will see the below screen.
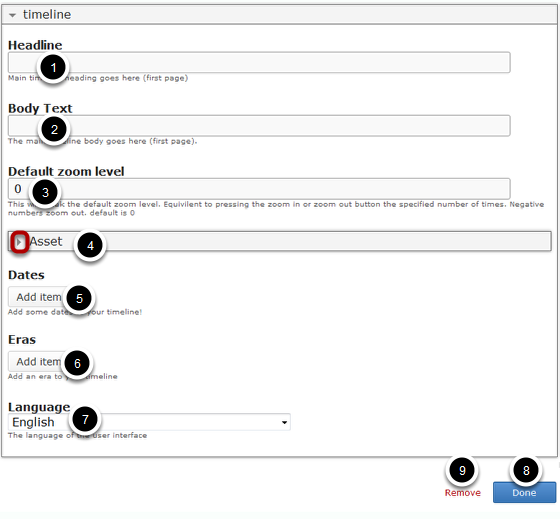
On this screen, you can
- Add a main timeline heading by typing it in the Headline [1] field.
- Add some text for the timeline home page by typing it in the Body Text [2] field.
- Set the default zoom level by typing it in the Default zoom level [3] field.
- Add a media URL link and update its details by clicking the arrow button shown with the Asset [4] title.
- Add dates to the timeline by clicking Add item [5] button under Dates title.
- Add an era to your timeline by clicking the Add item [6] button under Eras title.
- Choose the user interface language from the Language [7] drop down option.
- Click on the Done [8] button to save the changes.
- Remove the component by clicking the Remove [9] button.
Step 3: Add a Headline

Type the main timeline heading in the Headline field as shown in the above image. This field is mandatory. This title will be shown on the home page of the timeline.
Step 4: Add Body Text (Optional)
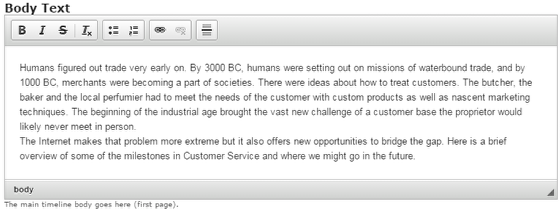
You can add some introduction text in the Body Text field as shown in the above image. You can also change the format of the text, add and remove hyperlinks and insert horizontal lines between the contents. This field is not mandatory.
Step 5: Add Default Zoom level

Type the zoom level value in the Default zoom level field as shown in the above image. This will tweak the default zoom level. It is equivalent to pressing the zoom in or zoom out button the specified number of times. Negative numbers zoom out. The default value is 0.
Step 6: Update Assets for the Home Page
You can update the assets on the home page by clicking the arrow button with Asset title as shown in the above image. You will see the below screen.

On this screen, you can
-
Add a link to the media in the Media [1] field which will appear on this timeline's home page. It could be Twitter, YouTube, Flickr, Vimeo, Google Maps and SoundCloud item.
-
Update credit details of the uploaded item in the Credits [2] field.
-
Add a caption description in the Caption [3] field.
Step 7: Start adding Dates

You can start adding dates to your timeline by clicking the Add item button under the Dates title. You will see the below screen.
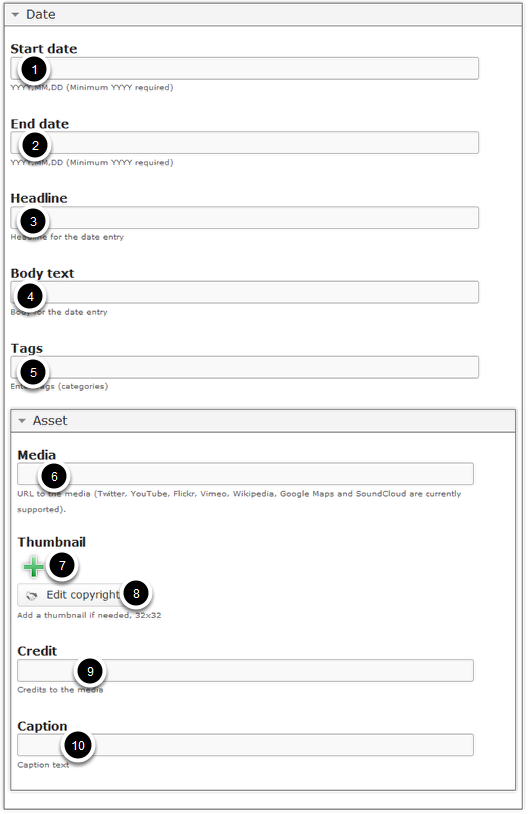
On this screen, you can
-
Enter the start date for the date entry in the Start date [1] and end date in the End date [2] fields.
-
Add a headline for the date entry in the Headline [3] field.
-
Update description text in the Body text [4] field.
-
Enter tags or categories under Tags [5] field.
-
Enter the medial link in the Media [6] field under Asset title.
-
Add a thumbnail to the media if needed by pressing the ‘+’ field Thumbnail [7] title.
-
Update the thumbnail image’s copyright details by clicking the Edit copyright [8] button.
-
Enter any credit details for the linked media in the Credit [9] field.
-
Add caption text for the media in Caption [10] field.
Step 8: Enter Start Date
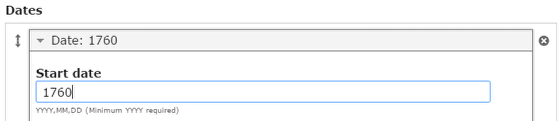
Type the start date for the date entry in YYYY,MM,DD format in the Start date field under the Dates title. This field is mandatory. An example date is: 2015,01,01. You don't have to enter the full date. But, you should enter a year at least, just like the one shown above.
Step 9: Enter End Date

Type the end date for the date entry in YYYY,MM,DD format in the End date field. This field is not mandatory. You can enter the start date as the end date as well.
Step 10: Add Headline

Type the headline for the date entry in the Headline field as shown in the above image. This field is mandatory.
Step 11: Add Body Text
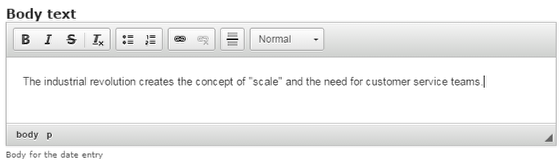
You can add contents to the description part of the date entry in the Body Text field as shown in the above image. You can also change the format of the text, add and remove hyperlinks and insert horizontal lines between the contents.
Step 12: Add Tags

Type the tag or categories for the date entry in the Tags field. This field is not mandatory.
Step 13: Update Assets for the Date Entry
You can add and update the Assets for this date entry by clicking the arrow button shown in the above image. Then follow the below steps.
Step 14: Add Media to the Date Entry

Add a link to the media in the Media field which will appear for this specific time entry on the description part on the top of the page. It could be Twitter, YouTube, Flickr, Vimeo, Google Maps and SoundCloud item.
Step 15: Add Thumbnail Image
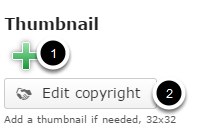
You can upload a thumbnail image for the asset by clicking the '+' icon under Thumbnail [1] title. It will be displayed in 32x32 pixels size. Optionally, you can update the copyright details of the uploaded image by clicking the Edit copyright [2] button shown above.
Step 16: Add Credit to the Media

You can update the linked media's credit details in the Credit field shown above.
Step 17: Add Caption for the media

You can add a caption text to the media in the Caption field shown above.
Step 18: Add more Dates (Optional)
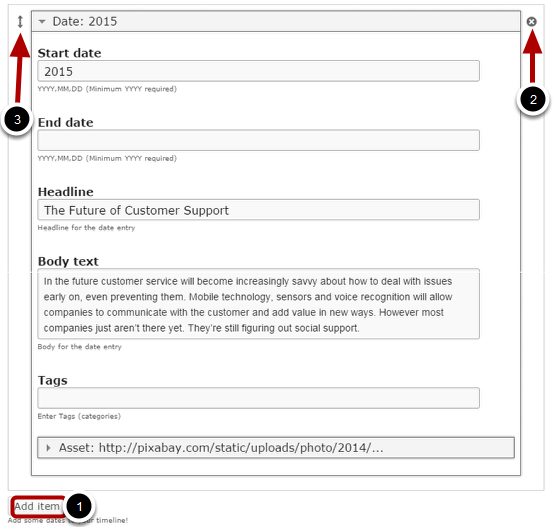
If you want to add another date entry, click the Add item [1] button as shown in the below image. Another date entry will be added after you've clicked the Add item button. You can remove any date entry by clicking the X [2] button on the top right corner of the date window. You can also change the order of the date entry by dragging the Double Headed Arrow [3] button on the top left corner of the date window. Similarly, you can add as many date entries as you want.
Step 19: Add Eras to your Timeline

You can add some Eras (a long and distinct period of history) as events to your timeline by clicking the Add item button under the Eras title. You will see the below screen.

You can update the details about this specific era in the above screen just like you did for the date entries. In our case, we leave it blank.
Step 20: Set Language

You can set the Language of the user interface by choosing from the Language drop down option. By default, it is set to English.
Step 21: Click the Done Button
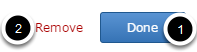
Once you've updated all the details, click the Done [1] button shown above to complete editing the page. You can cancel creating the page just by clicking the Remove [2] button shown above. If you click the Done button, you will see the below screen with a preview of the created page.
Step 22: Click the Create Button
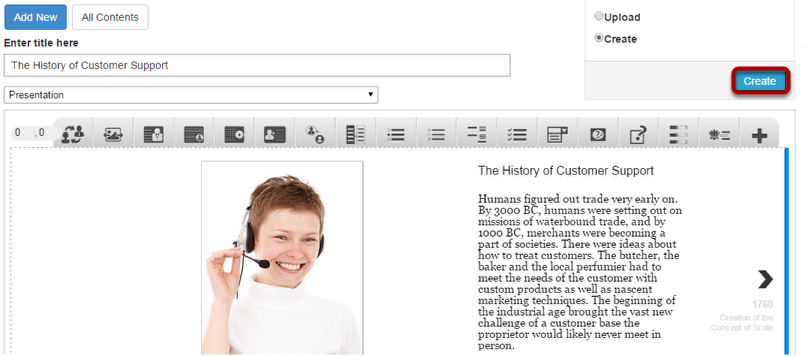
If you still want to edit the page, just double click on the preview page, and you will be taken to the Edit page. If you've done all the changes, you can click the Create button as shown above picture to finish editing the page.
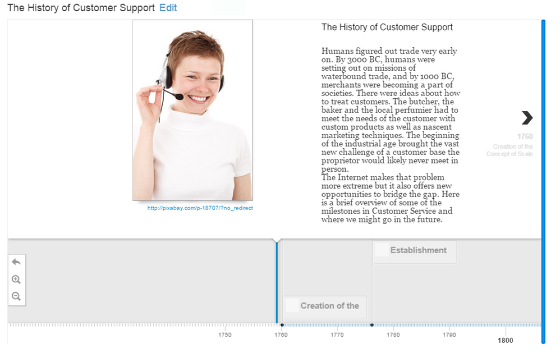
You can see the finished page as shown in the above image.
Notes
-
You can create as many pages as possible in a Presentation using this component.
-
You can add any bumber of date events in a page using this component.